MAMA Children’s Activity Post: Stained Glass Style Hearts!

Continuing with the theme of Valentine’s Day we decided to make some lovely stained glass style hearts to display and make into cards! This is a quick (slightly less messy) activity with some lovely results.

Equipment you will need:

– Tissue paper (we used red & pinks).
– Sticky-back plastic/contact paper.
– Heart shape to draw around.
– Pen.
– Scissors.
– String to hang them on window/in cards.
– Blank cards.

IMG_2001

Firstly have fun with your child ripping up tissue paper into lots of pieces – this is the part that can get a little messy!! My son enjoyed putting all the pieces in a tub and mixing them all up for a while.

IMG_2015

Then layout the sticky-back plastic/contact paper with the sticky side facing up and stick all the bits of tissue paper one half. You can do this in whatever pattern you like – we opted for chaos!

When you’ve stuck all your pieces down then fold over the over half of the sticky-back plastic/contact paper and push it (or “bash it”) down firmly.

I had to do the next part as my son is too young but an older child may like to do it. I drew around a heart (actually the magnet we made in a previous blog!) with a pen and then cut around this outline to make lovely stained glass hearts.

We strung some together to hang at the window and tied others into a hole cut out into a blank card to send to others – who could then remove it from the card and hang it up.

Don’t forget to follow us on Instagram, Twitter & Facebook!!
Continue reading “MAMA Children’s Activity Post: Stained Glass Style Hearts!”

MAMA Children’s Activity Post; We LOVE footprints!

With Valentine’s Day coming up it’s a great time to get messy making some lovely cards and gifts for those whom you love! We did this footprint activity last year together with our previous posts “Will you be my Valentine” Parts 1 & 2 – so don’t forget to check those ideas out again too!

7AB2B884-A03E-41B8-9FB4-94D267E4B5A4

This idea is quick and simple but as it uses paint and tiny feet it can get quite messy!!! It is also a good add on activity to incorporate into an experimentation afternoon where you just give your child paints and let them run wild or together with other Valentine’s day crafts like above!

Equipment you will need;
– Plastic activity mat/towels/tuff tray to make your painting space.
– Painting clothes/apron.
– Red paint (water based, non toxic).
– Paint pots/paperplates.
– Brushes/sponges.
– Card.
– Red felt tip pen.
– A small person’s feet!
– Frame (If you wish).

First set up your painting space and squeeze your paint into a pot (an older child may enjoy doing this bit!) Then get ready in your painting clothes/aprons – If you have a small baby it maybe best to do this when they are fed and a bit sleepy and wrapped up in an old towel with one foot free! Don’t just leave them in a nice little outfit like I did the first time I tried doing footprints then have paint all over them and their clothes – I always learn from my mistakes! Also I was unable to do the footprints and take a photo at the same time (I tried and failed!!) so sorry theres no picture for this stage.

IMG_1687

You need to paint your child’s foot/let your child paint their foot with not too much paint – otherwise the image will be distorted and smudged. I often put the paint on and do a few practice ones on some scrap card/paper till they started looking good then print on the card you want as best.

For younger children you can either press the child’s foot down on the card which is on a firm surface or put the card on a firm surface (like a placemat) and bring it up to the foot. For older children they can often stamp onto the paper or allow you to place it in the correct place (depending on how far your child is into the “I can do it myself” stage!). The most important thing is they have fun so if they’re not into it and want to just mess around it’s easier to let them play with the paint etc first then try again later.

You need to make the foot prints on your card into a ‘V’ shape – you can either position this ‘V’ in correct position straight off or do lots on a piece of card then cut out best one and stick it in place. It is up to you but I prefer the latter!

IMG_5947

Making good footprints can take some practice – I have had many a failed attempt so don’t worry if it doesn’t go well first time round just keep going till you have prints you like.

Once you have your footprint ‘V’ in place you then write the rest of the letters around it to make the word ‘LOVE’. An older child may want to help with this! I framed our final product but you could make cards from them to send to people too!

IMG_2336

Don’t forget to check out our Instagram, Facebook and twitter accounts and follow us at http://www.megaawesomemessyart.com where there are other ideas for Valentine’s inspired crafts as well as other fun ideas!!

MAMA Children’s Activity Post: “Will you be my Valentine?” Part 2

120043ca-0c1e-4d60-a0b1-8eafb27284ec

So the eagle eyed amongst you may have noticed some hand and foot prints on the ‘Tidy tidy tidy up’ picture from “Will you be my Valentine?” Part 1 ?!?! Well this is how we made those and what we did with them next…………

Equipment

For the painting bit

Activity mat (for table or floor).
Old towels.
Old clothes/aprons for you and your child.
Paints – red and pink (water based, non toxic).
Paper plates – to squeeze paint onto.
White Card.
Paint brushes/sponges.
Wipes.

For the Decoration bit;

Glue (PVA or Glue stick).
Double sided sticky tape.
Scissors.
Paper Plate.
Red sheets of card.
Green lollipop sticks.
Ribbon.
Permanent markers/ felt tips.

Step 1: Preparation.

21ffc929-9bc0-4510-a1c3-a1063345f673

Set up the activity mat on the table or floor (I often use an old towel on the floor too to enlarge the space and my son finds it nicer to sit on). Put out the card, paper plates to squeeze paint onto and brushes/sponges. As previously mentioned my son likes to squeeze the paint out so I let him do this as part of the activity but if you have a younger child you may want to put paint onto the plates ready.

Step 2: Experimentation.

f72fe408-1b69-46b9-b855-82e1d4a9f683

When doing hand and foot prints I always leave time at the beginning for my son to just play with the paints and brushes first before trying to get the prints. For this MAMA afternoon it was experimenting with the heart shaped mark-making tools as featured in “Will you’ve my Valentine?” Part 1.

Step 3: Making hand and foot prints and more messing around!

dbf5441a-34cc-4fff-aba1-95f054544820

My son enjoys painting his own hands and feet with the brushes but you can do this part for your child if they are too young/don’t want to. I often paint my hands/feet first so he knows what’s going on (although now we’ve done this a lot I just say let’s paint with our hands/feet and he starts painting them)!

For the hands I used red paint. Once the the paint is on the hands I let him slam them down on the card – this often makes messier prints but he loves it! I then repaint the hands and press his hand down onto card in a more controlled way to get a cleaner print. I let him do loads on different sheets of card because you can pick the best ones later.

3cf95600-5842-4b0b-beb0-e8848e4c3009

For the feet I used pink paint for the activity but he then wanted to paint them red afterwards as this is his favourite colour! Once his foot was painted I pressed it onto the card at two angles to make a heart shape (see photo). I then let him stomp onto paper and mess around afterwards which he enjoys.

Step 4: Tidy tidy tidy up!

Make sure you wipe off any excess paint and ensure you’re little one doesn’t walk paint all through the house – I say this from experience as my son decided it would be fun to “run away” with red painted feet!!!

Put your reusable painting equipment to soak and then wash thoroughly later. Put aside all of your card hand and footprints to dry. After this activity a bath was definitely called for!!

Step 5a: Decoration time: “Roses are red”

b3aa164e-3fdf-4d3f-b11b-8fd15a41920a

Choose your favourite red handprints and cut round them (I choose 3 but you can have as many as you like). I used double sided sticky tape to secure one handprint on top of each green lollipop stick. I then arranged these onto a piece of red card into a nice bunch and stuck them on using double sided sticky tape (you could use glue if you prefer). I then tied a bow with the ribbon and stuck this on the green lollipop sticks. And there you go a bunch of red roses to give someone for Valentine’s Day!

Step 5b: Decoration time “I love you from the very bottom of my heart to the tips of my toes”!

8eee4197-1d3e-4732-8d5a-a796fda2496d

I cut around the heart shape made from the two footprints and stuck it in the middle of a paper plate. I then used a permanent marker pen to write the phrase “I love you from the very bottom of my heart to the tips of my toes” in a circle around it. I also decorated the edges of the plate to make it look like a frame.

So now you have some lovely Valentine’s Day pictures which you can display or give to people as cards! Don’t forget to write the age of your child on the back of any extra hand/footprints and keep them for your MAMA memory books/boxes.

Please feel free to ask questions or leave comments and of course share any of your MAMA Creations!!

MAMA Children’s Activity Post; “Will you be my Valentine?” Part 1

177e3a17-2d5c-4b0e-93de-078590e819a5

So with Valentine’s Day closely approaching I thought we’d do some heart themed painting and see what we could create. I was really pleased with the results and the best thing is, one of the nicest things we made was down to my son experimenting with his favourite mark-making tool of the moment; the humble cotton bud!

Equipment

For the painting bit:

Activity mat (for table or floor).
Old towels.
Old clothes/aprons for you and your child.
Paints – red, pink and white (water based, non toxic).
Paper plates – to squeeze paint onto.
Card: red and white sheets – I also cut some card into heart shapes and bought a card 3D heart card magnet to decorate.
Toilet rolls.
Sticky tape.
Heart shaped things to use as stamps: cookie cutter, wooden hearts (from craft shop) sponge made into heart shapes.
Cotton buds.
Wipes.

For the Decoration bit;
PVA glue.
Glitter.
Brushes.
Permanent markers/ felt tips.
String/wool.

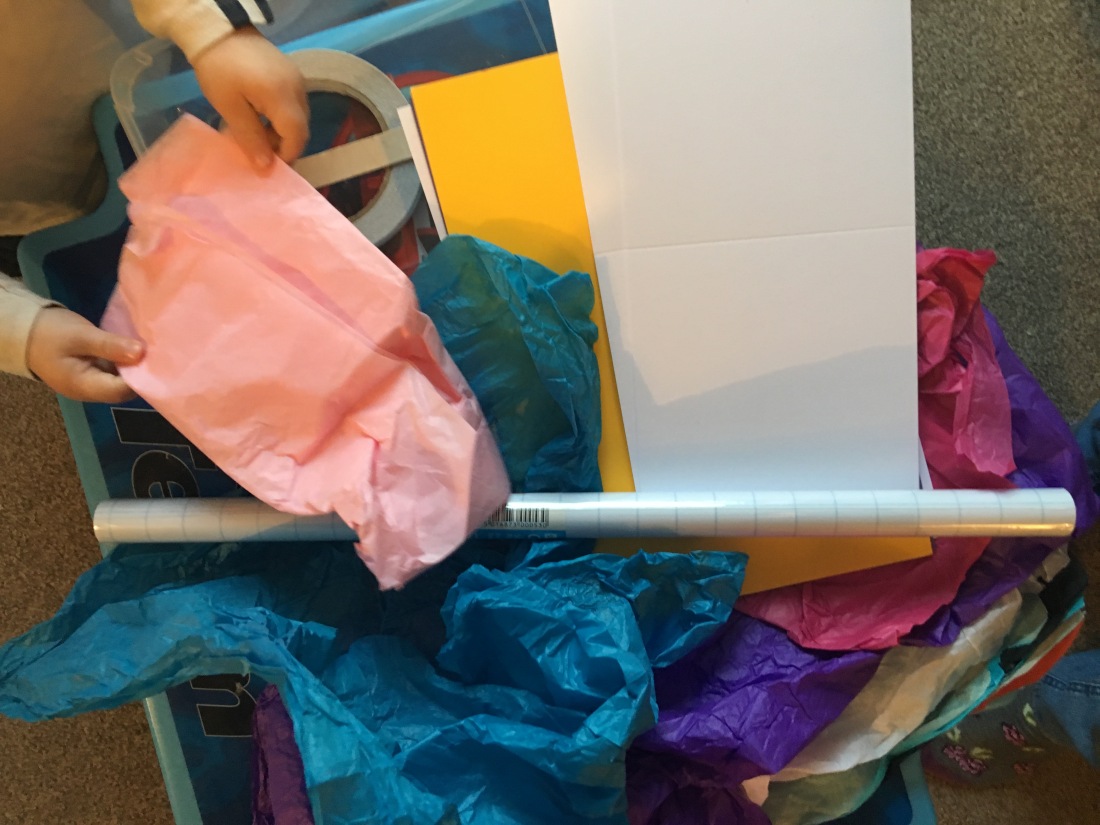
Step 1: Preparation!

c460d807-2290-43a8-9d11-8c8a22d397b4

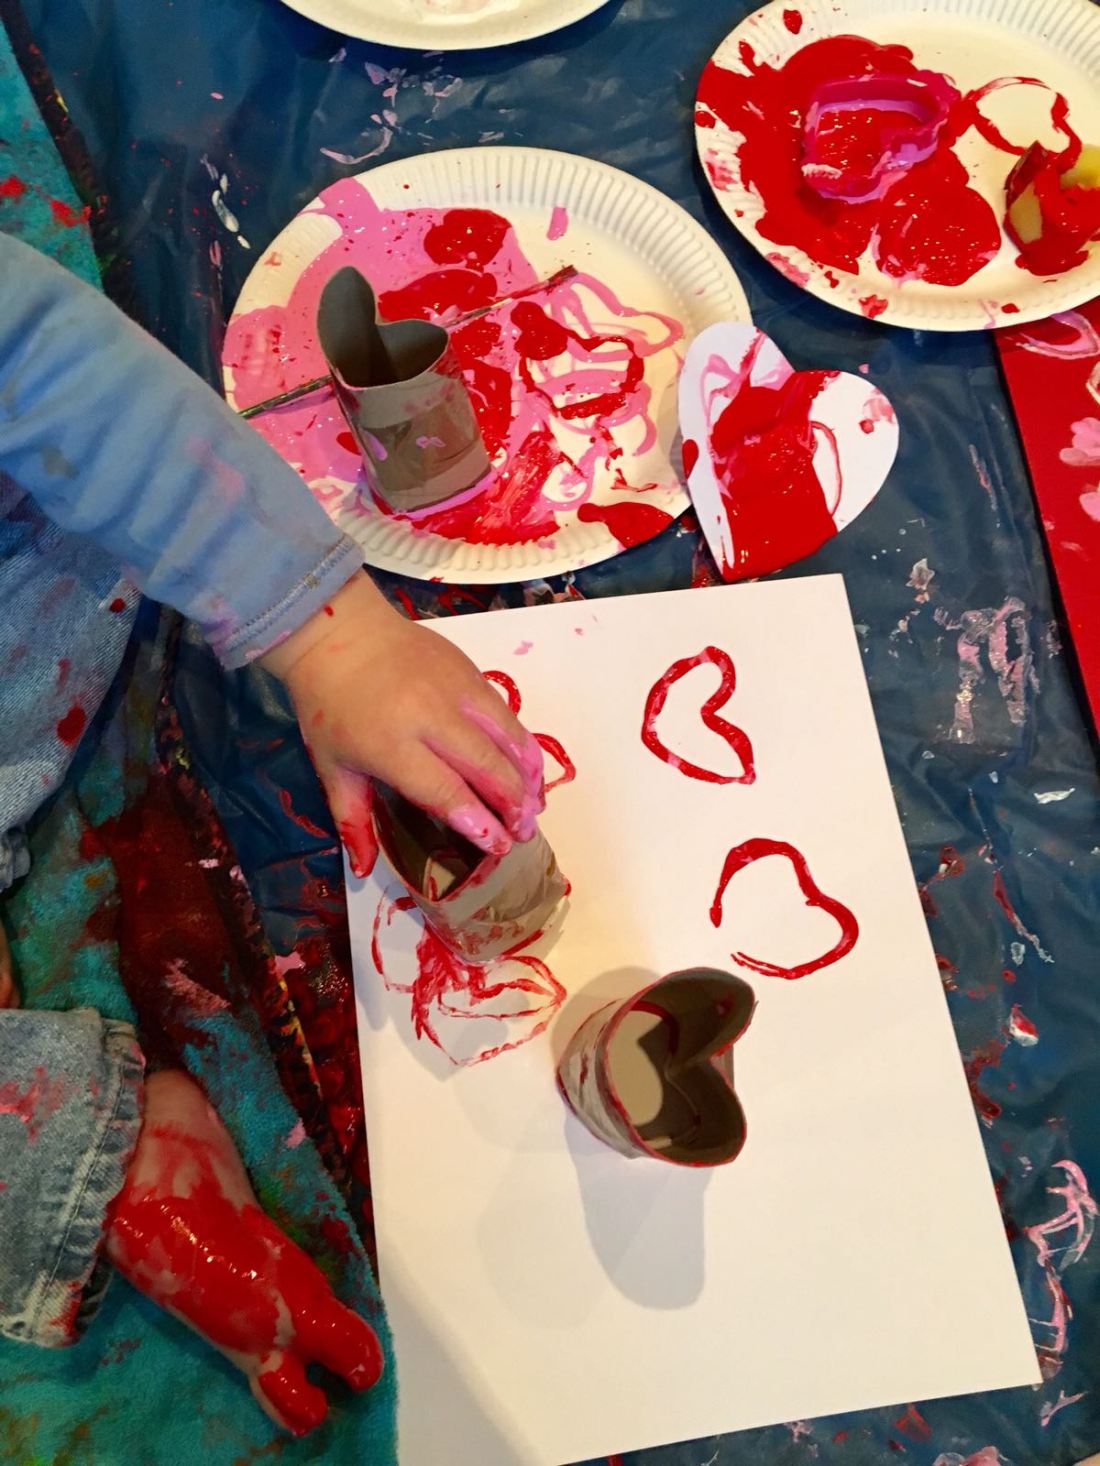
Firstly get some toilet rolls – always a good tip to save these up as they are VERY useful for MAMA activities! Bend the toilet rolls into heart shapes and then tape them into place (see photos). I then collected other heart shaped things to use as mark-making tools.

I put the activity mat and a towel on the floor to make a nice large space to get messy! I then laid out the paper plates, paint tubes, heart mark-making tools, cotton buds, card, and heart magnet onto the mat whilst my son was napping!

As my son has grown up he’s started to want to help get the paint out by squeezing it onto the plates, so I no longer get this part ready, I incorporate it into the activity but if you have a younger child you may want to squeeze the paint out at this point too.

Step 2; Squeezing paint and making mess!

c3ecaaeb-20f2-4e54-9090-2f3b4fc45981

Once dressed in our painting clothes it’s time to start having fun. Firstly my son chooses which colour to start with, then he squeezes it onto the paper plates- normally from “up high”! We then do the same for the other colours.

Once ready I showed him how the toilet roll hearts make nice heart shapes and then he was off experimenting with all the other mark-making tools. The ones which worked the best were the toilet roll hearts and the cookie cutter as they were easier to hold and make clean shapes.

d33047ba-f67c-4738-806c-522c89fb2e08

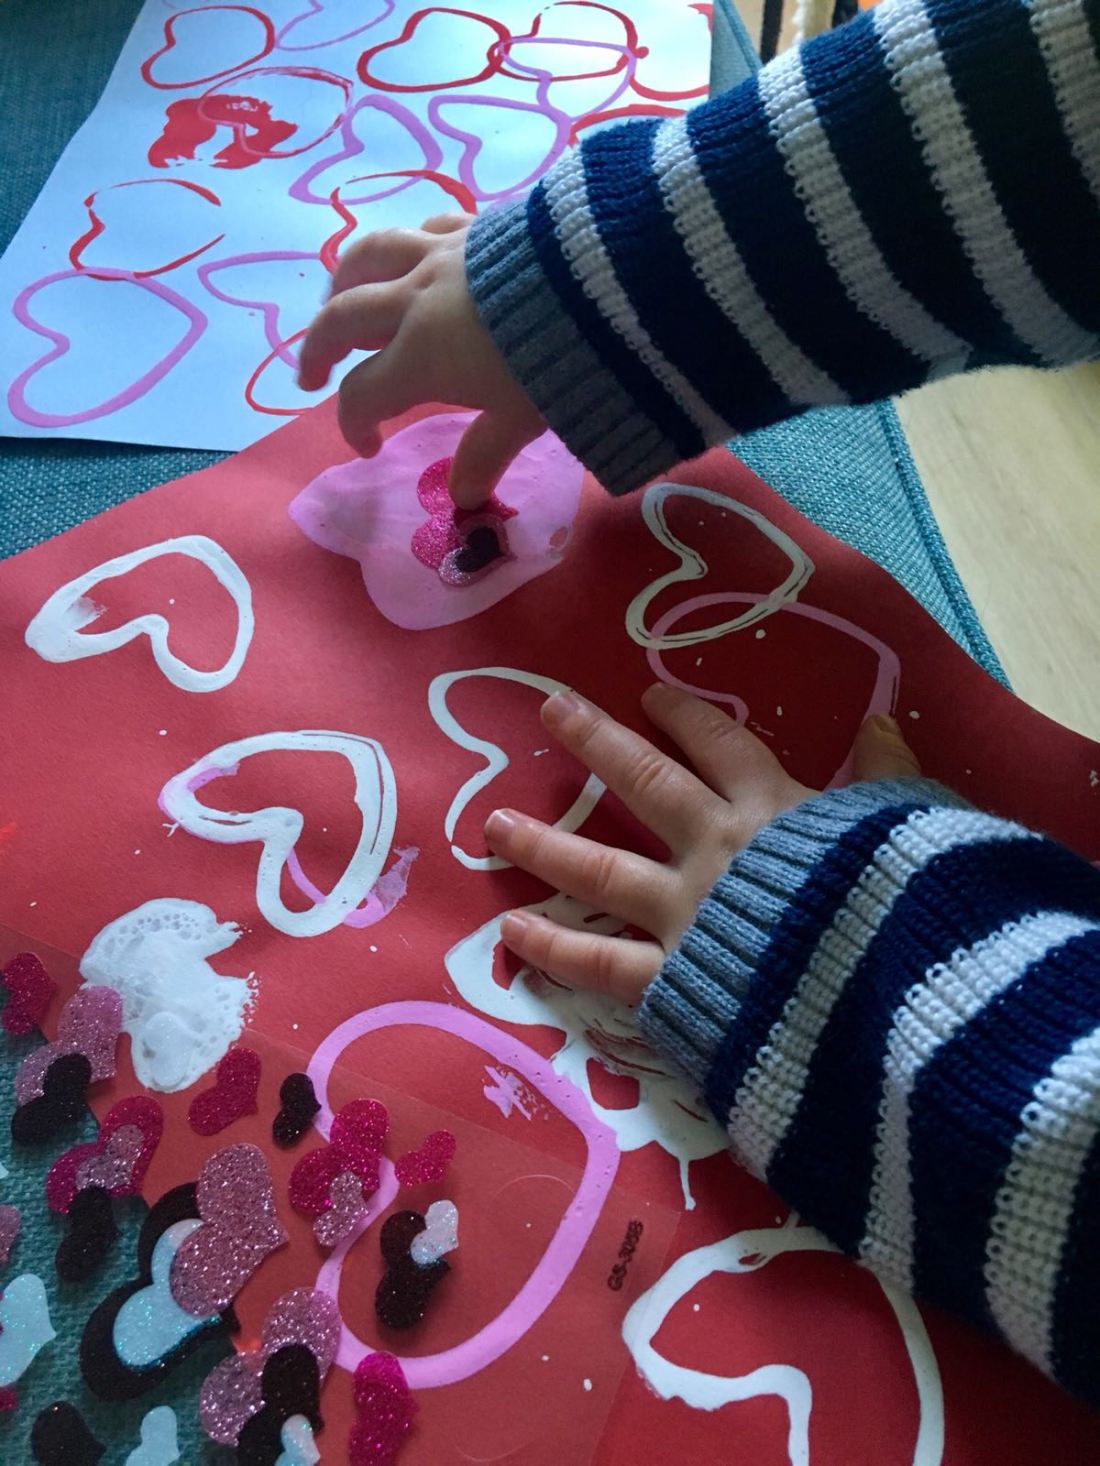
We used the wooden hearts to make shapes on card and then my son started using the cotton buds to add other colours to them, this looked really lovely and was not part of the plan but that’s how MAMA experimenting can help create original designs by your children! He also decorated the heart magnet in the same style.

1a2ac28b-ded5-4cdf-a14f-3081d2f54446

Step 3: Tidy tidy tidy up!

fbe464c4-69bc-4e17-b349-f8e99d3c1053

Put all your reusable painting equipment into soak whilst you wipe off any excess paint and then put your child in the bath if they got a little bit too messy for wipes alone! Put your paintings to the side to dry. Make sure you then properly clean your equipment later so you can keep using them for future MAMA activities.

Step 4: Decoration/embellishing.

bf88b532-081f-4b26-87e6-986736e1e1ed

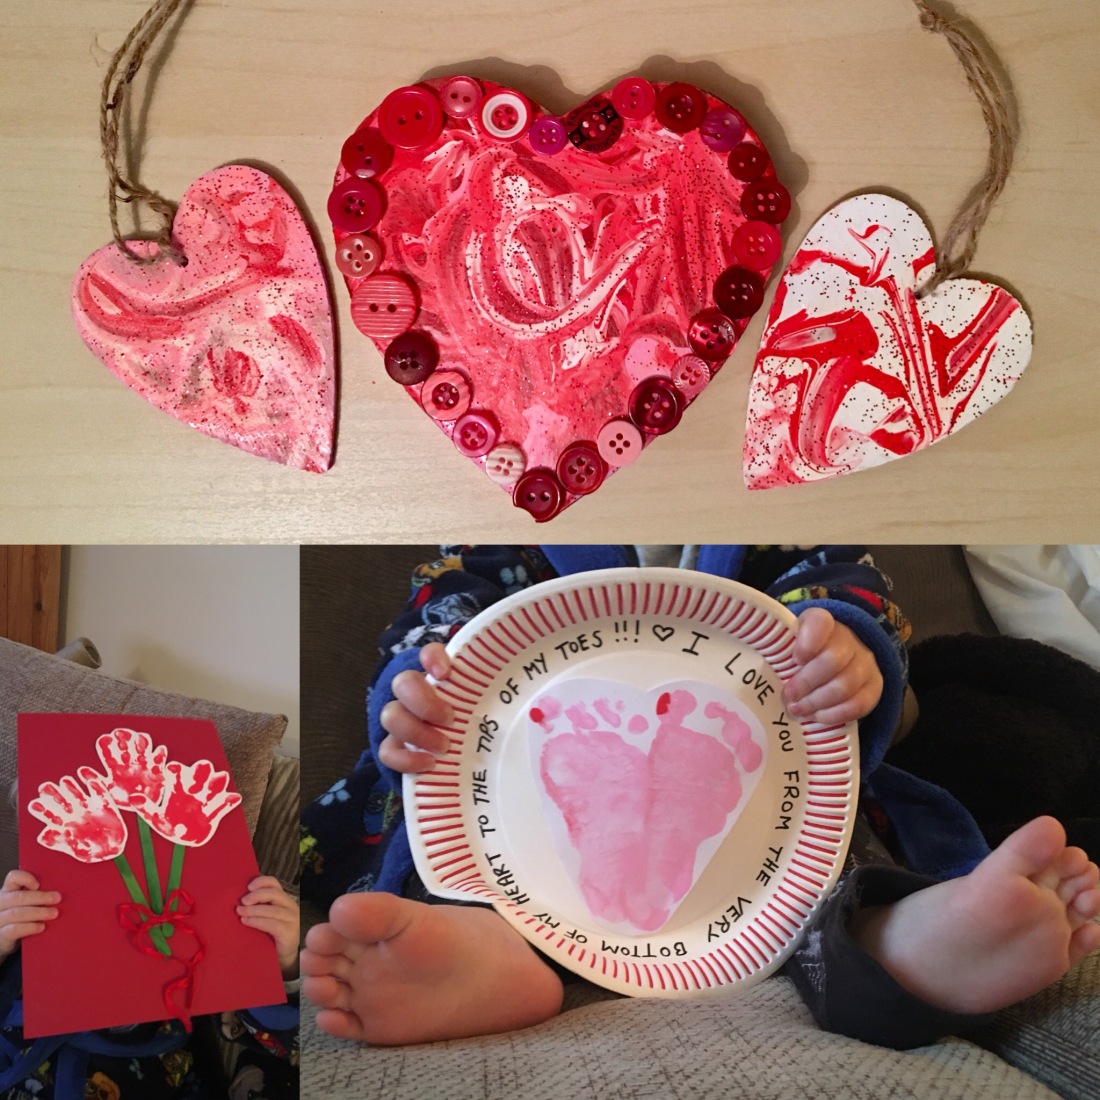
I mixed PVA glue with some glitter to paint over the wooden hearts and magnet.
Now this looks messy to begin with but trust me once dried you won’t be able to stop marvelling at their ultra shiny, glittery appearance! I then stuck some pink and red buttons to the edges of the magnet whilst the glue was still wet. Once dried I tied string to the wooden hearts through the pre-made holes to allow them to be hung up or used as gift tags.

4b224a4c-eb1c-4deb-81e4-58df95582966

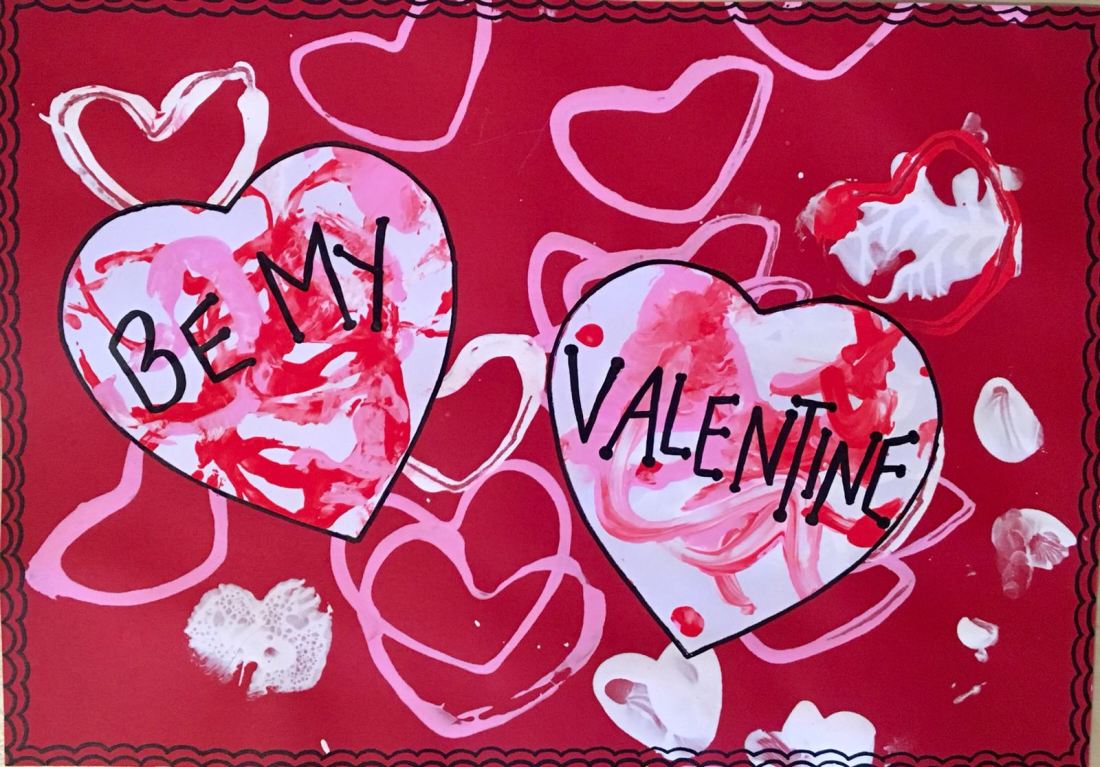
For the painted card hearts I stuck them onto one of the sheets of card with heart prints on and embellished this with valentines messages using permanent marker pen. We also used stickers (another of my son’s favourites) to decorate the other paintings.

49ea1149-649a-4b8d-b53f-7574ea370c04

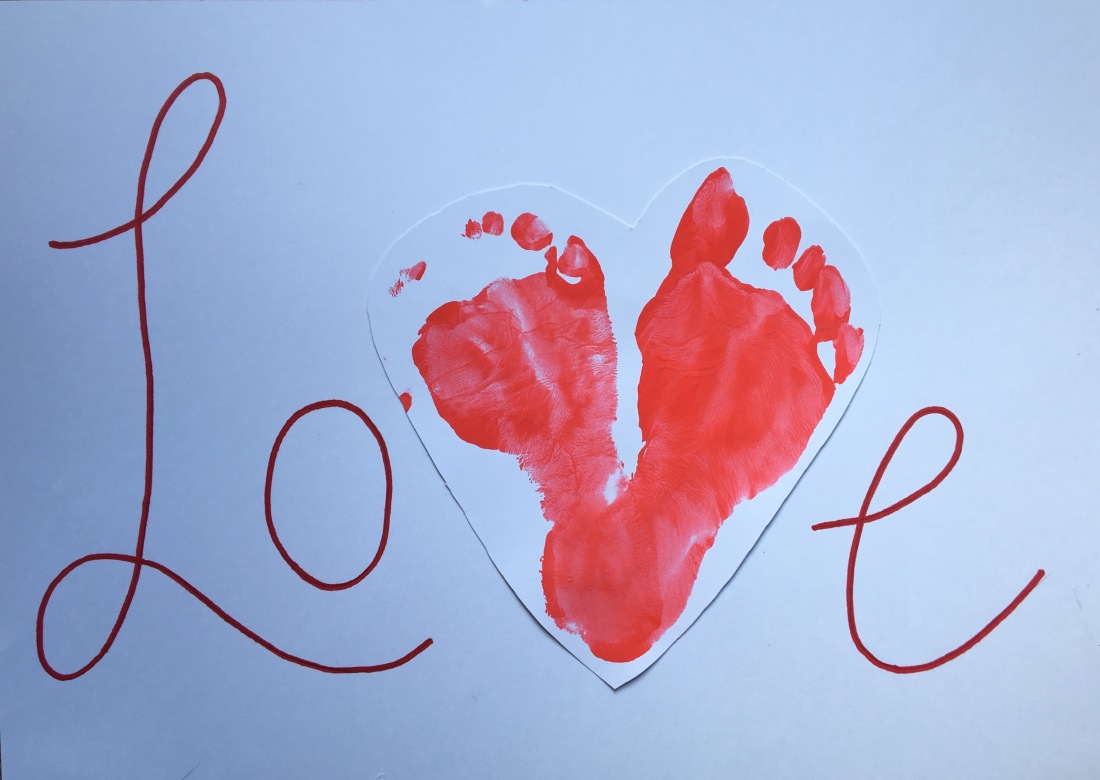
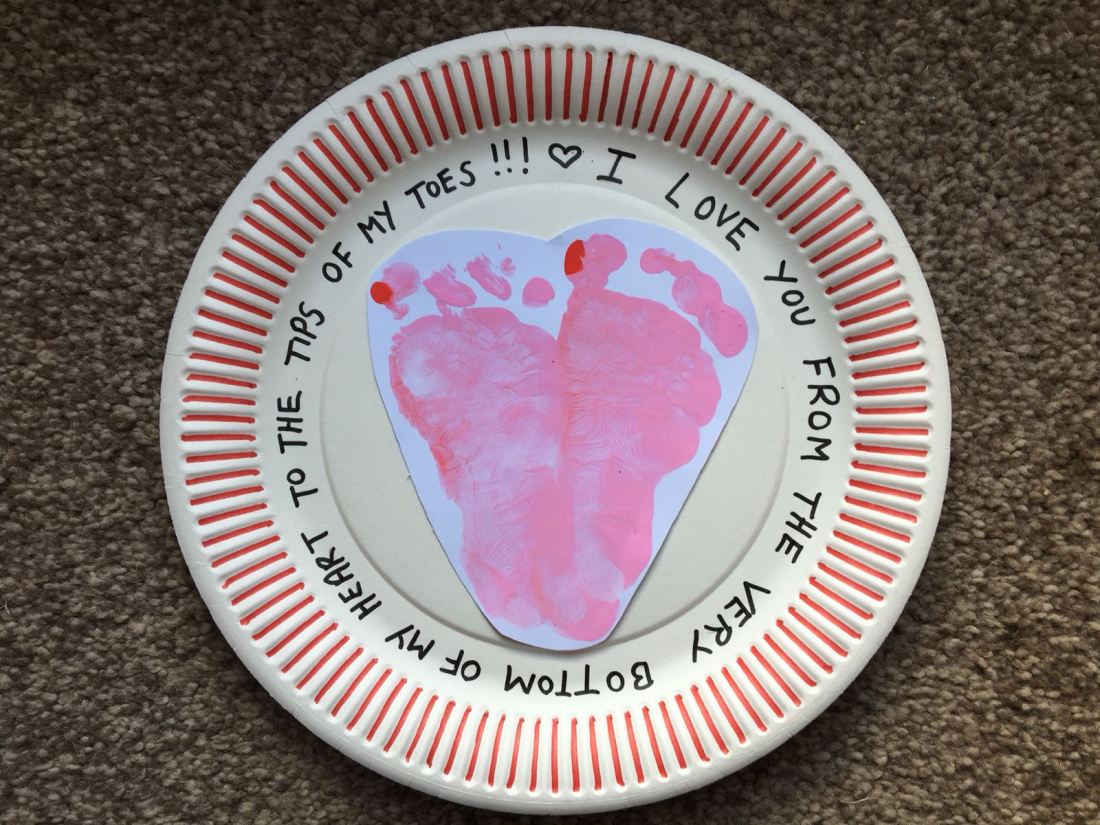
Now you have some beautiful decorative hearts and pictures to give as gifts or keep to decorate your home and spread the love! Don’t forget to keep an eye out for “Will you be my Valentine?” Part 2 where we will be going back to our love for hand and foot prints to make some lovely cards and pictures to display and keep!

Don’t forget to follow us on twitter (@MegaAwesomeMA) Instagram (megaawesomemessyart) and Facebook (Mega Awesome Messy Art) and please share any of your MAMA masterpieces we’d love to see them!